
3 Easy Ways to Stay Ahead of Scaffolding Regulations
Scaffolding regulations are constantly changing, here are three ways you can use that to your advantage. Read More
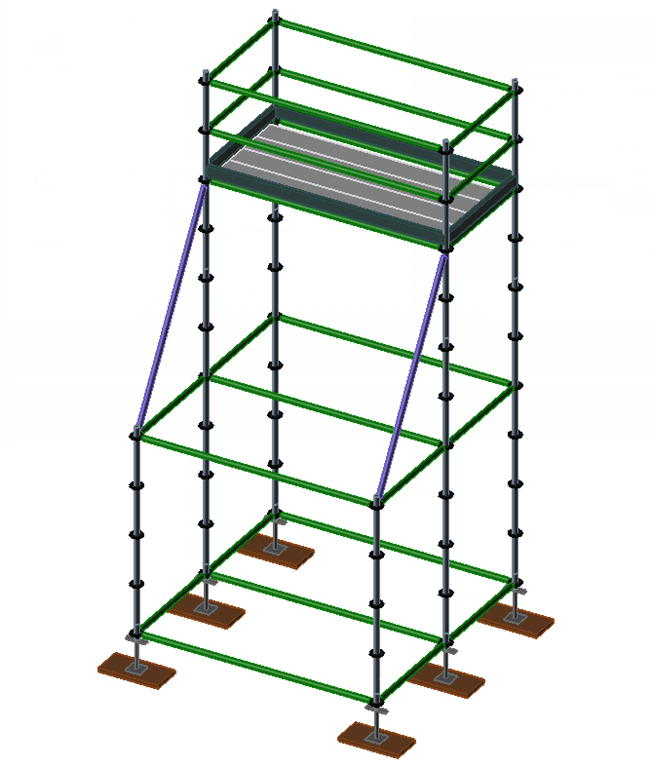
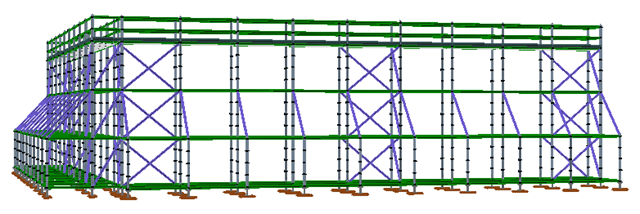
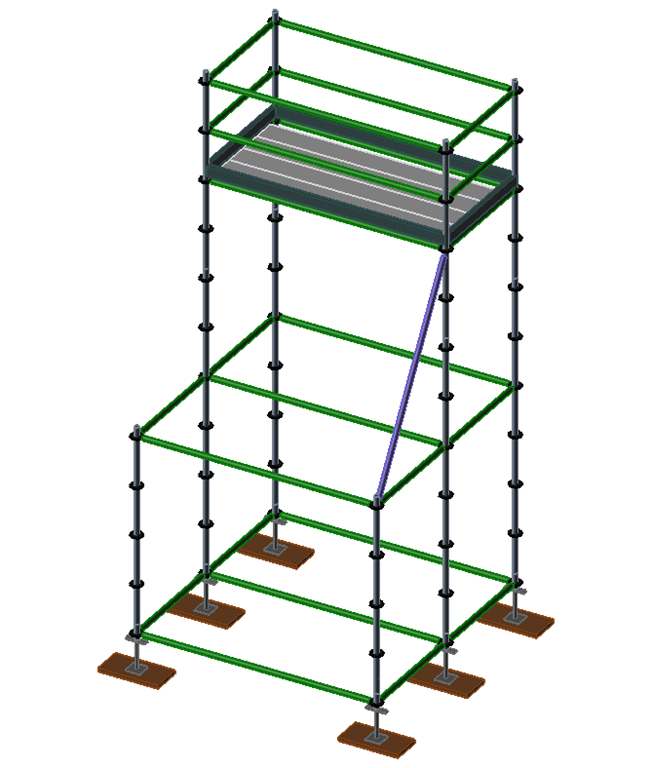
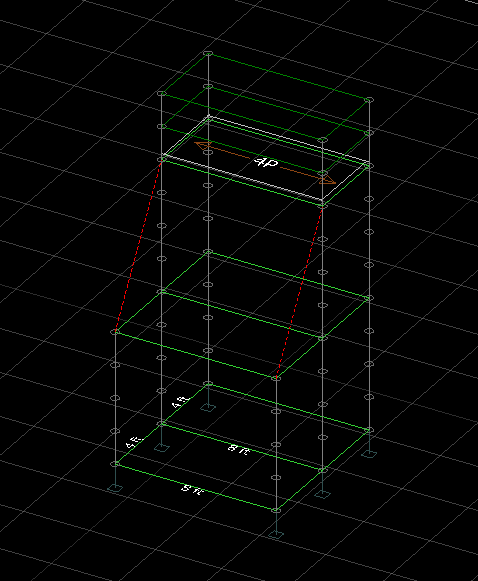
Buttresses are used to provide support to act against lateral (sideways) forces.
In Avontus Designer, you can create a buttress by adding vertical bracing to the top level of adjacent bays.
 |  |
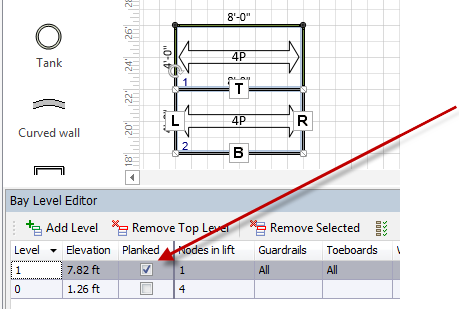 |
Uncheck “Planked” (Guardrails and toeboards will be removed automatically). |
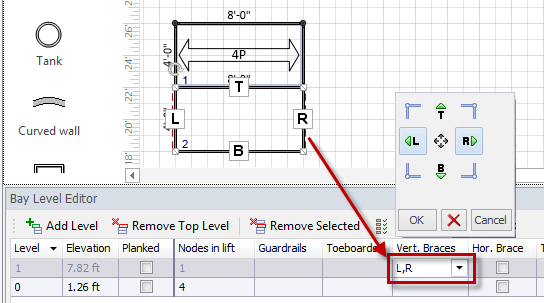

NOTE: By default, top vertical braces will not display in the Conceptual tab. If you wish to see the top bracing in the Conceptual tab, see the “Tips and Tricks” section below.
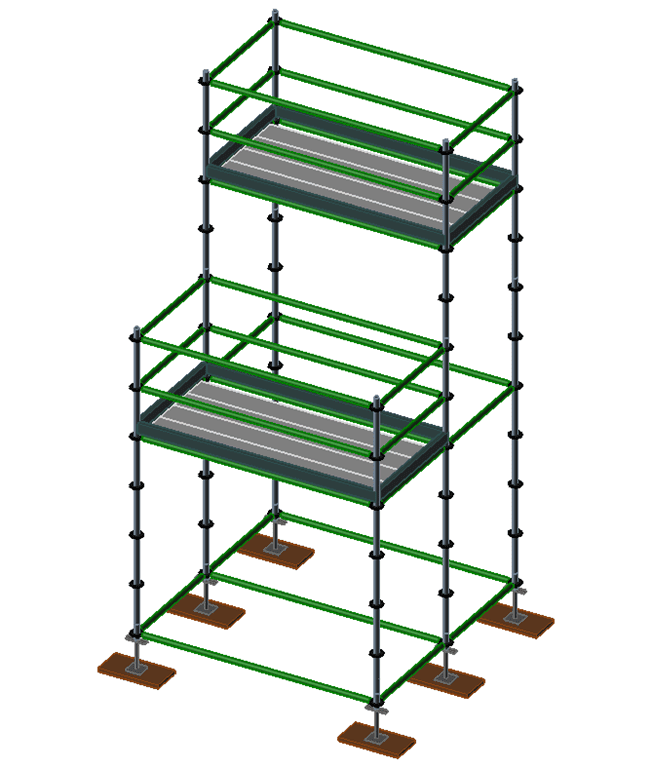
Notice that only one of the top vertical braces appears because the two sides of a bay use opposite bracing directions by default. To display the other brace, change the brace direction on that side of the bay.
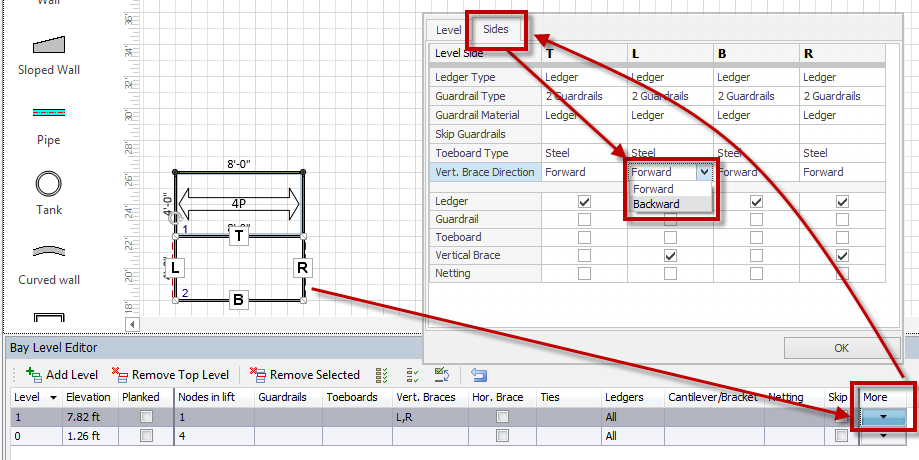

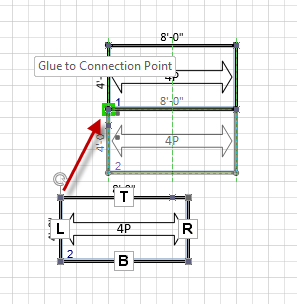
| If you want the top braces to display in the Conceptual tab, extend the vertical standards on the side of the adjacent bay next to the scaffold tower or run.
This will not affect the material count in the BOM.
 |  |
By: Cliff Young
Scaffolding regulations are constantly changing, here are three ways you can use that to your advantage. Read More
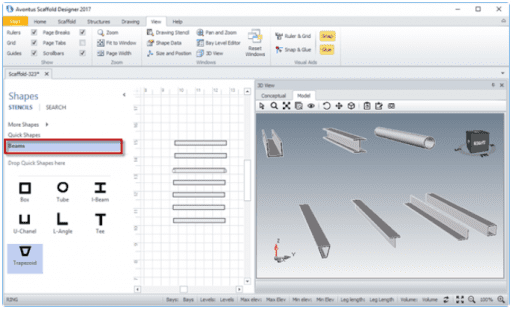
A new how-to article has been posted on the Avontus Help page. See the tutorial on how to create Beams. Read More
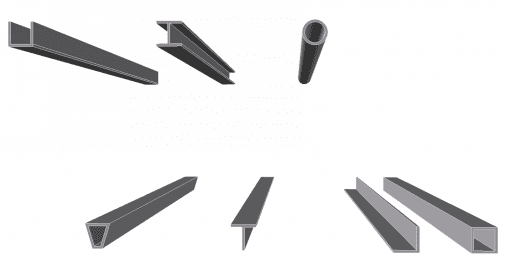
A new how-to article has been posted on the Avontus Help page. Here’s a tutorial on how to create Beams. Read More
